Grab a composition notebook and tape up the binding with any old masking/painters tape.

Then grab a large brush and some white paint to create a nice white base.

You will need several coats paint so it looks like this

Before the last coat drys rip up that painters tape.

Then what I do next is go on Google Drive or whatever document you have on you computer and type out a quote on a sheet of paper then I cut it with a paper cuter write around the words. The quote I chose was 'Don't try to comprehend with your mind, minds are very limited. Try imagination." So you have to print it like this;
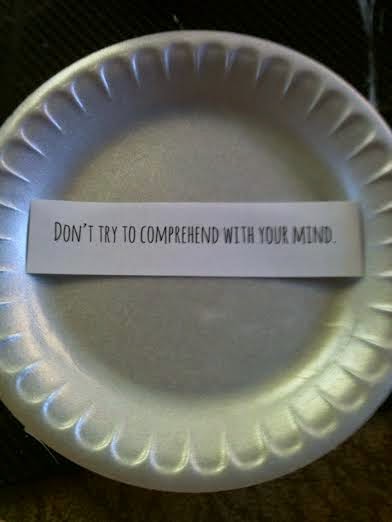
DON'T TRY TO COMPREHEND WITH YOUR MIND,
OUR MINDS ARE VERY LIMITED
TRY IMAGINATION.
Make plenty of spaces between the word in you quote. Make sure you cut your quote with plenty for space when you make it.
Place one of your quote clippings in a sink or on a Styrofoam plate.
I forgot to take picture of this but get three different blobs of paint that can blind well with each other and add a little bit of water.

Then stir till the pigments is evenly distributed in the water.

Do this with the other two colors

Grab one of your paint and water mixture and the paper clipping on the plate

Pour your color of choose onto the clipping, be sparing it should look something like this.

You can also pour a bit on the plate and lay it face down on the blob of awesome.

It will look like this.

Dip or pour the rest of the clippings to look some thing likwe this and lay them out to dry. ( if you want it to go quicker, you can grab a hair dryer and blow dry them on low with a warm or cool heat setting.)

Get the same paints as you used earlier for the water/paint mixtures. (You don't need white paint.)

( The next step works best if the white base coat is still a bit wet so if completely dry add a thin coat of white to dry for maybe 5 minutes) Add another strip of painters tape to the book and Then make a squiggle line with your paint of chose and fill in the corner you created repeat all over notebook alternating colors and move to next step with out letting dry. Also don't worry about the appearance you painting.


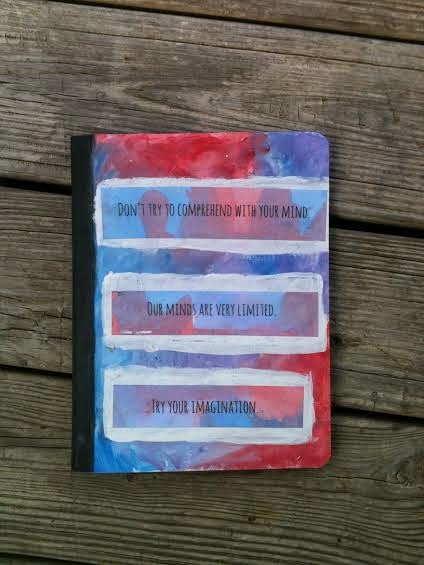
Get your dried clipping and figure out where you want them on the cover. If you want to paint around the quote like in the picture near the bottom do this now. I just used a pencil to make a rectangle about a half an inch bigger all around the clipping them took away the clipping a messily filled in the rectangles the let ththem to dry.
Then put glue on the back of the clippings and place them where you want on the notebook. (Or in the white rectangles.)

Then put stripes of glue over the clippings, and use a large brush to spread the glue thinly over the paper clippings.

Then add more stripes of Elmer's glue on the rest on the rest of the cover,
spread it out as well. Let it dry and your journal is done!

This is what it looks like when you put white rectangles around it.
This what it looks with out.

I hope everyone enjoys this post.
Here's an updated picture of my precious nephew!!!!!
 |
OOOoooohhhhhh, I love this!!!!!! You done a great job on this notebook. Love love love it!! I really love the last picture too! I think I see a bit of grandpa in him! hugs, Patty
ReplyDelete